
1. This is, obviously, not a Tanzanian recipe but the way I have listed the steps is for Tanzanian cooking. I'm guessing not many people make their own bread unless they use a store-bought bread maker. So it might be fun to try cooking it this way because cooking is all about FUN. The recipe I'm using comes straight from the Joy of Cooking...with slight variation. |
 |
| 2. First scald a cup of milk-or water with powdered milk to get the appearance and, somehow, taste of milk. While you're waiting dissolve a packet, or 2 1/4 teaspoons, of yeast in 1/4 cup water. It's better if the water is warm but not necessary. Also, combine in a large bowl a cup of water, tablespoon of butter or margarine, tablespoon of shortening, tablespoon of salt, and 2 tablespoons of sugar. Once the milk is ready add it to the mixture. | 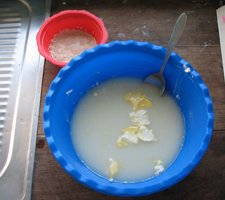 |
| 3. After about 5 minutes you can add the yeast to the mixture. Now add 3 cups of flour and mix it in SLOWLY (I use a spoon). It's ok to have lumps just make sure there's no flour lying around the edges or bottom that's not fully mixed in. | 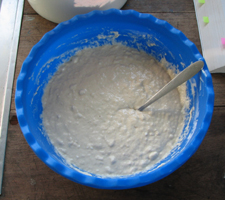 |
| 4. Now the fun part. Add 3 up to 3 1/2 more cups of flour and mix in slowly until it becomes to hard to mix using the spoon. Now use your hands to knead the dough. This is probably the most important, and most fun, step in the recipe. You want to get the dough smooth (no bumps or wrinkles), elastic (stretch but not tear), and full of bubbles (um...that's self explanatory). It's fun, though I'm not sure how helpful, to pull the dough out and fold it into itself. Well, at least I think so. See? | 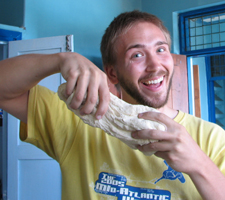 |
| 5. Now grease a pan or, if you live in Tanzania, a sufuria. Make sure to grease up the sides too. Place the dough in the sufuria and spread it out along the bottom. | 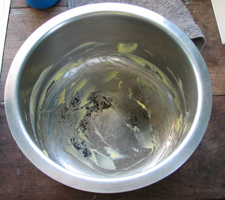 |
| 6. Turn the dough over so it's buttered on all sides. Cover the dough with a cloth and let it sit in a warm place but NOT DIRECTLY IN THE SUN. It can actually start baking the top of the dough as it rises. Let it sit until it doubles in bulk-about one hour. | 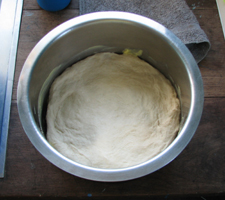 |
| 7. After one hour punch the dough back down and let it rise until double in bulk again. After 40 minutes you can start the charcoal stove to make sure the coals will get nice and hot. | 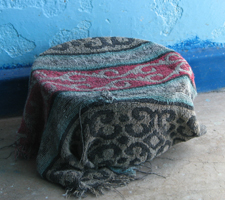 |
| 8. After it has risen again you can shape the dough however you want...or leave it. Your choice. Time to create an oven. First find a large sufuria and 3 equal size stones to create a lift inside the larger sufuria for the smaller sufuria. | 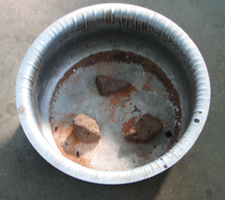 |
| 9. Place the smaller sufuria, with the dough, inside the larger one. | 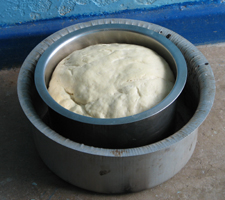 |
| 10. Cover both sufurias and put hot coals on top. Then place the 'oven' over your charcoal stove. You can't control the heat so you'll have to check often but usually once the top browns over pretty well it's done. Stick a butter knife into it to make sure the middle is cooked through. | 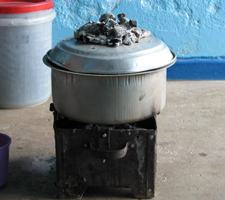 |
| 11. Once it's done take the smaller sufuria out, get a bread board and turn it over to see the results. As you can see I burnt the bottom slightly. This will usually happen-I've only once successfully baked bread without it burning. But it should still taste good. Enjoy with peanut butter, jam, white sauce with peas, potatoes, and chicken (kind of like chicken pot pie...kind of), or all by it's lonesome...or peanut butter and plain M&Ms...now I'm just daydreaming. | 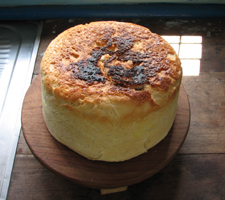 |
| Back to Recipes |