  | 1 of 12


 |   |
| | 1 of 12
| |
Abstract
In an upcoming section, we will take the next step in project automation by introducing continuous integration, in which the more time-consuming build activities are run in the background on a remote server.
Running continuous integration on gitlab-ci requires
a gitlab project with an automated build,
a designated runner machine/process to execute that build, and
a configuration script, .gitlab-ci.yml that tells the runner what to do to run your build.
You should already have the first of these, courtesy of this previous assignment.
In this lab, you will tackle the second of these, setting up a GitLab CI runner on an AWS virtual machine “in the cloud.”
It’s possible that parts of this will be different for me as an instructor than for you with student access. Let me know
Log in to AWS Educate.
Go “Classrooms & Credits” on the tool bar.
Select “Request or go to an AWS Educate Classroom”
Select “Go to my classrooms”
You should see this course listed under “Classrooms where I am a Student”.
Still on the My Classrooms page, select “AWS Account” from the toolbar.
You should see something like
possibly with a link to set up your account.
Set your account up, if necessary.
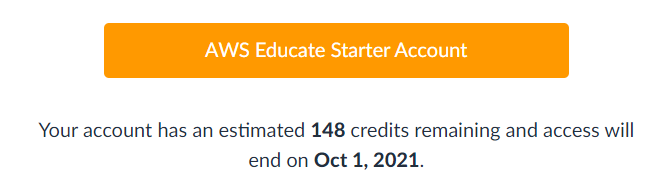
Click the orange button to see your account status:
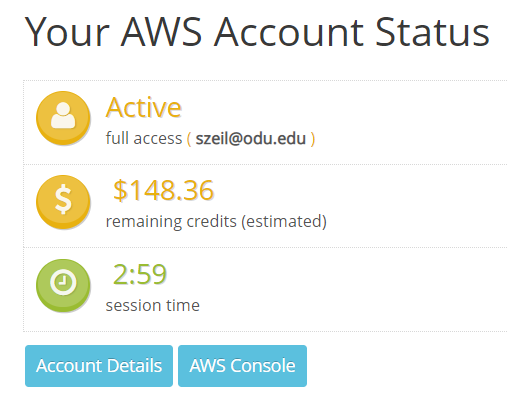
Click the AWS Console button to actually access AWS.
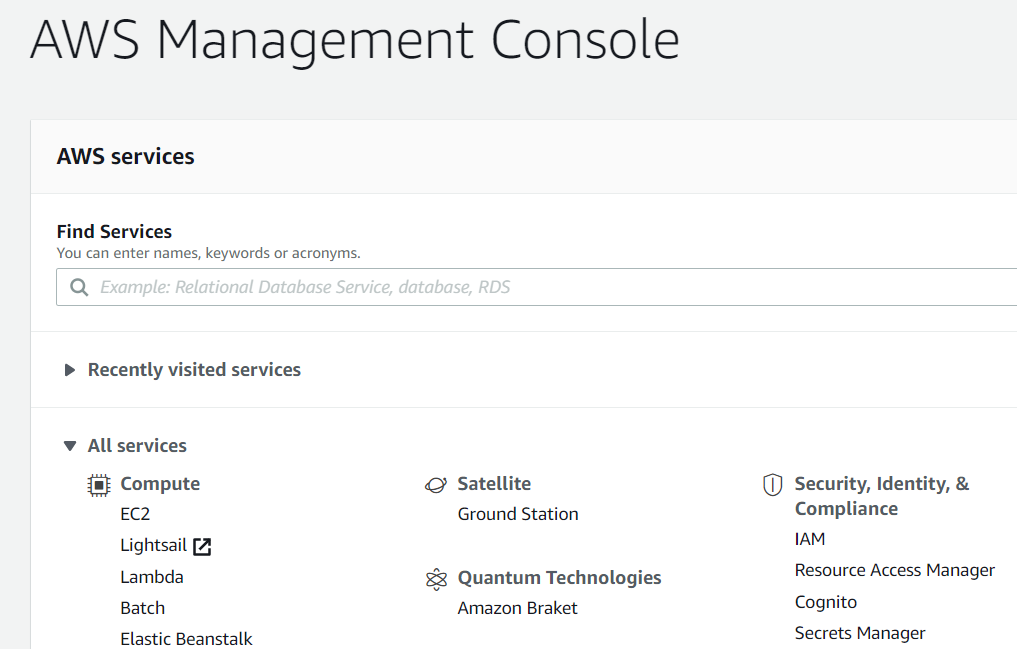
You should be looking at something like:
We’re going to set up a basic Linux server that we can use to do test and CI for your Gitlab1 Java project.
We are limited to services that are handled by the AWS Educate program. This does not include LightBeam, the newer, simplified approach to launching Linux/Windows servers.
Fortunately, the older interface is not terribly complicated.
Select EC2. (EC stands for “Elastic Computing”.)
Select “Launch Instance” from the orange menu titled “Launch Instance” in the box titled “Launch Instance”.
You’ll be presented with a list of OS versions and machine types that are available.
Select “Ubuntu Server 20.04 LTS”, 64-bit (x86).
Next, you will be asked to select the simulated machine “size”.

Our educational accounts are limited to “nano” and “micro” sizes.
I raised the drive size to 30Gb, the largest available without extra charge.
Click “Next: Add Tags”
Adding tags is optional. It can help to identify your machines if you have a lot of them.
Click “Next: Configure Security Group”
This lets you set up firewall rules that restrict access to your machine.
Click “Review and Launch”, then “Launch”.
Next you will be given the option of supplying an SSH key pair or creating a pair for access to the machine.
Follow the instructions to create a new pair and to download a copy of the private key (.pem format).
Note:
This is a passphrase-free key, so keeping it secure is critical. Keep it on your own PC. Don’t give a copy to anyone else.
If you lose it, you can’t get it back. (If you lose it, you will need to return to the AWS dshboard and generate a new key pair.)
Return to the AWS Console and click on “Running instances” to see the details of your server.

ssh with the private key you downloaded to access the server.
ubuntu.Open an ssh connection to your new AWS server.
gitlab-ci-runner is distributed as a standard Ubuntu install package.
sudo apt-get update
curl -L https://packages.gitlab.com/install/repositories/runner/gitlab-runner/script.deb.sh | sudo bash
sudo apt-get install gitlab-runner
sudo gitlab-ci-multi-runner status
The last command should report that the service is “running”.
Note: this program can be invoked either as gitlab-ci-multi-runner or as gitlab-runner.
Still in that SSH session:
sudo gitlab-runner register
You will be asked for the gitlab-ci coordinator URL (e.g. https://forge350.cs.odu.edu/ or https://git-community.cs.odu.edu/
You will be asked for the gitlab-ci token for this runner.
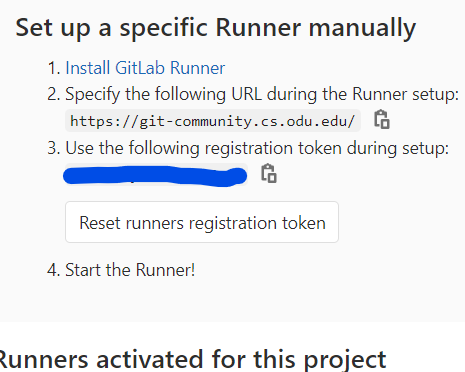
You get that by using your web browser to visit your GitLab1 project, look under Settings for CI/CD, click Expand in the “Runners” section and look for something like the text to the right. Copy the registration token, and paste it into your SSH session.
Enter a short description and tag (e.g., my-aws-shell)
When asked for the executor, answer shell.
You can explore other possibilities later, but shell is the easiest to get started with.
When gitlab-runner is finished, give the command
sudo gitlab-runner list
You should see your new runner listed there.
Finally, the default account setup in Ubuntu clashes with the gitab runner:
sudo rm /home/gitlab-runner/.bash_logout
Return to your web browser and refresh the Runners page. You should see your new runner listed.
If your runner will need additional software, now is the time to install it in your SSH. In this case, you will need
ubuntu@ip-xxx-xx-xx-xxx:~$ sudo apt-get install rsync
    ⋮
ubuntu@ip-xxx-xx-xx-xxx:~$ javac -version

Command 'javac' not found, but can be installed with:

sudo apt install default-jdk              # version 2:1.11-72, or
sudo apt install openjdk-11-jdk-headless  # version 11.0.8+10-0ubuntu1~20.04
sudo apt install openjdk-8-jdk-headless   # version 8u265-b01-0ubuntu2~20.04
sudo apt install openjdk-13-jdk-headless  # version 13.0.3+3-1ubuntu2
sudo apt install openjdk-14-jdk-headless  # version 14.0.1+7-1ubuntu1
sudo apt install ecj                      # version 3.16.0-1

ubuntu@ip-xxx-xx-xx-xxx:~$ sudo apt install openjdk-11-jdk-headless
    ⋮
ubuntu@ip-xxx-xx-xx-xxx:~$ javac -version
javac 11.0.8
All that remains is to set up the .gitlab-ci.yml file in the GitLab project.
You’ll tackle that in the next assignment.
| | 1 of 12
| |