
HowTo: Convert a Paper Test to Blackboard -- Quick and Dirty
Steven J. Zeil
Scenario: You are teaching a course with a test coming up soon. You’ve prepared the test in Word or some other tool, intending to print it on paper and hand out copies to your students. Now you suddenly need to get it onto Blackboard instead.
This isn’t going to be pretty, but it’s fast and will get you what you need. You can take the time to learn better ways to handle it later when you have some free time (yeah, like that ever happens :-).
1 Create Your Test
-
Enter your course in Blackboard.
-
Choose one of your Content Areas in which to place your test.
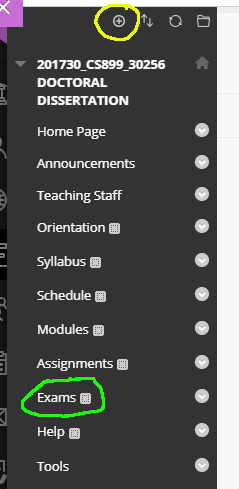
Exams(circled in green) might be a good choice. Or you can use the ⨁ symbols (circled in yellow) to create a new Content Area named “tests” or “Quizzes” or whatever you think is appropriate.Click your chosen Content Area to enter it.
-
Make sure that
Edit Mode(in the upper right-hand corner of your window) is “On”.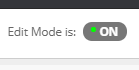
-
On the
Assessmentsmenu, select “Test”.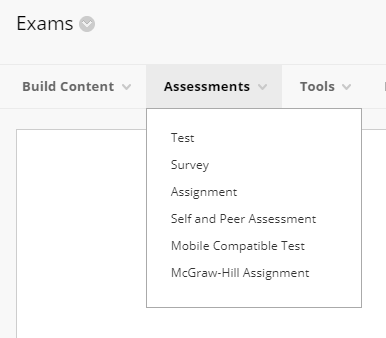
-
Click the “Create” button.
-
Give your test a name.
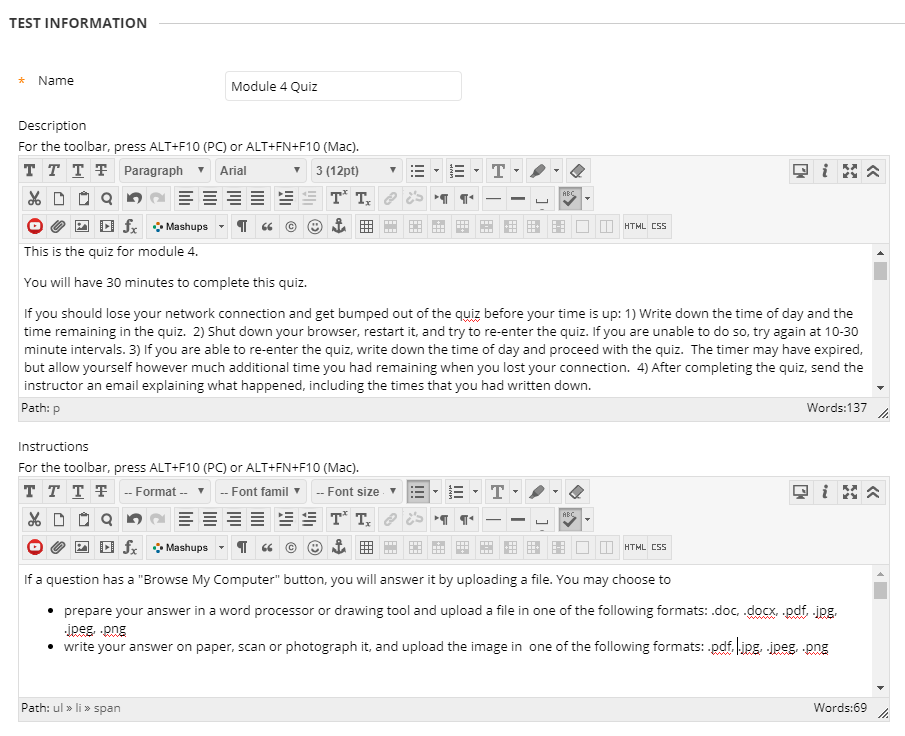
Describe the test and how long students will be allowed to spend working on it. Add instructions. (The description is visible before students start the test. The instructions are visible while the students are taking it.)
-
Look at the first question on your test.
-
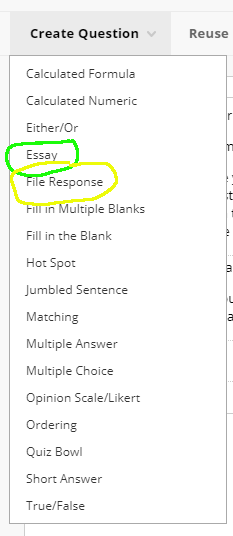
If this is something that students can answer using text only, go to the
Create Questionmenu and select “Essay”. -
If this is something where you would ask students to draw a diagram, or write out mathematics, go to the
Create Questionmenu and select “File Response”.
-
-
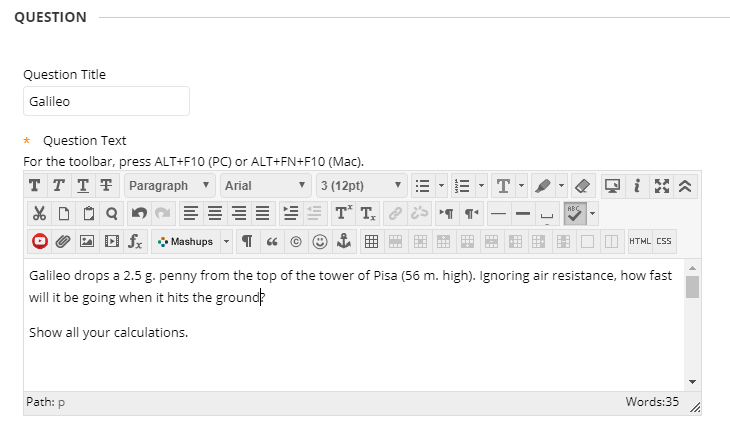
Copy and paste the text of your question from your original test into the “Question Text” box. Edit as necessary to make it look appropriate.
-
Click Submit (in the lower right corner of your window).
-
Find your newly added question and enter the appropriate number into the
Pointsbox on the right. ClickSubmitto save that number.
-
Repeat steps 7..10 for each question on your original test.
-
When you are done adding questions, Click ←OK (in the lower right-hand corner of the test).
2 Schedule Your Test
-
You should now see a list of existing tests, with your newly created one inside.
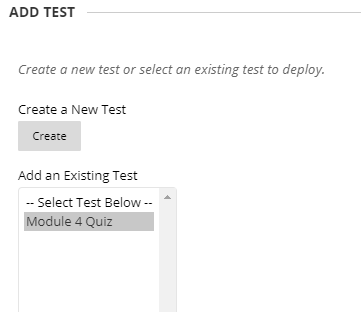
Click to select it and then click the
Submitbutton. -
You will now be shown the Blackboard Test Options page, in which you schedule your test and control how students work with it.
-
Scroll down to “Open test in new window”. Set to “yes”.

-
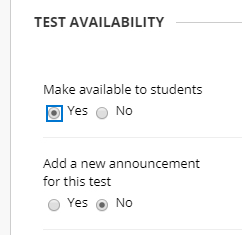
Scroll down to “make available to students”. Set to “yes”.
-
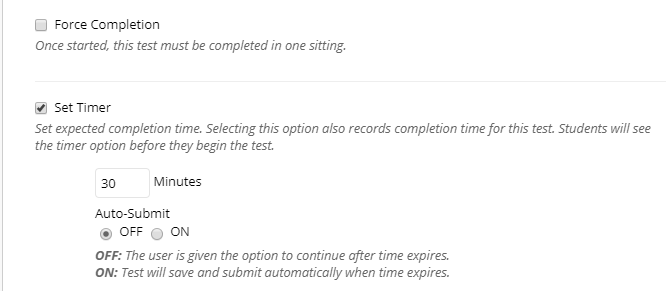
Do not put a checkmark near “Force Completion”. Sooner or later one of your students will lost their internet connection in the middle of the test. You want them to be able to resume the test once their connection is restored.
-
Put a checkmark by “Set Timer”. Enter the appropriate number of minutes below that.
Leave “Auto-Submit” off. Blackboard will let you know if they went over their time. But “Auto-submit” penalizes students who lost their internet connection partway through.
-
Use the
DisplayAfterandDisplay Untilcontrols to determine when the test will be available to students.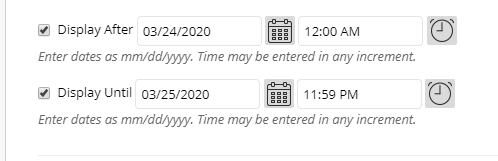
-
Scroll down to “SHOW TEST RESULTS AND FEEDBACK TO STUDENTS”
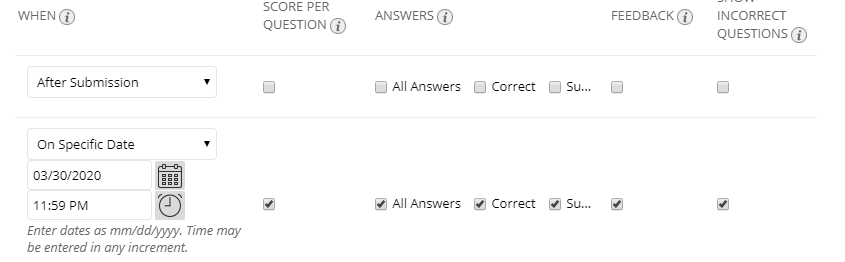
I recommend showing them nothing until the exams are graded, and everything possible after that.
Clear all the checkboxes on the “After Submission” line.
Pick a date when you plan to have the grading completed, select “On Specific Date”, enter that date and check off all the boxes.
-
Scroll down to “TEST PRESENTATION” and select “One at a Time”.
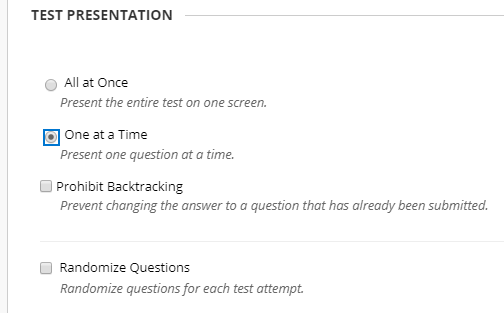
This is a safety/reliability matter. Displaying the questions one at a time causes the students’ work so far to be saved automatically as they move from one question to another.
-
Finally, click
Submit.Your test is now ready to go live on the date you chose in step 7.
If you need to fix things later:
- Enter the Content Area where you put the test.
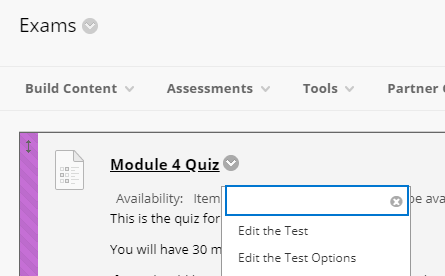
The small drop-down arrow alongside your test’s name will allow you to make changes.
- “Edit the Test” lets you alter the questions.
- “Edit the Test Options” lets you alter the timing and presentation of the test.
3 Grade Your Test
When it’s time to grade your test….
-
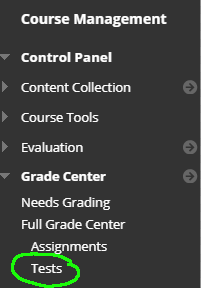
Return to your course in Blackboard. Look on hte left, under Course Management, and click the Grade Center: Tests item.
-
You will be taken to the Blackboard Grade Center.

You now have two choices.
- You can grade person by person, dealing with one student’s entire test before moving on to the next.
To do this, find the column for your test and the person whose test you want to grade. Click on the small gray drop-down arrow alongside the yellow icon.
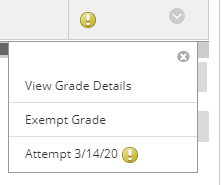
Select the “Attempt” and you will be taken to that student’s test.
- You can grade question-by-question, doing question 1 for every student before moving on to question 2, then question 3.
To do this, go to the column heading for your test.
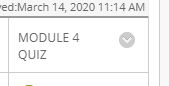
Use the small gray drop-down arrow and select “Grade Questions”.
You’ll be presented with a list of questions. Click on the number of responses to start grading that question.
3.1.1 Note 1
The full text of the test description I have supplied in the example is:
This is the quiz for module 4.

You will have 30 minutes to complete this quiz.

If you should lose your network connection and get bumped out of the quiz
1. Write down the time of day and the time remaining in the quiz.
2. Shut down your browser, restart it, and try to re-enter the
   quiz. If you are unable to do so, try again at 10-30 minute intervals.
3. If you are able to re-enter the quiz, write down the time of day and
   proceed with the quiz.  The timer may have expired, but allow yourself
   however much additional time you had remaining when you lost your
   connection.
4. After completing the quiz, send the instructor an email explaining what
   happened, including the times that you had written down.
The full text of the instructions I have supplied in the example is:
If a question has a "Browse My Computer" button, you will answer it by
uploading a file. You may choose to

* prepare your answer in a word processor or drawing tool and upload a
  file in one of the following formats: .doc, .docx, .pdf, .jpg, .jpeg, .png
* write your answer on paper, scan or photograph it, and upload the image in
  one of the following formats: .pdf, .jpg, .jpeg, .png
(Feel free to copy and paste for your own use.)