
HowTo: Schedule Distance Office Hours using Google Calendar and Zoom (for ODU faculty)
Steven J. Zeil
Here’s the goal: create a signup sheet that lets you designate your blocks of office hours, from which distance students can request specific time slots.
Here’s an example of what I am talking about:
Feel free to try clicking on one of the unused time slots for dates already past to see what happens.
1 1. Create a New Calendar
-
Browse to Google Calendar
-
You need to be logged in with your ODU MIDAS account.
Click the picture/silhouette in the upper right corner.
If it does not pop up with your
@odu.eduemail address, then sign out and sign back in with your ODU MIDAS credentials. -
Click the Settings icon.

-
Under
Add calendar, selectCreate new calendar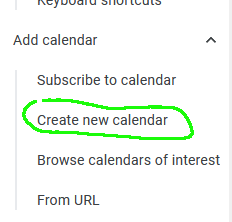
-
Name your calendar, check the time zone, the click
Create calendar.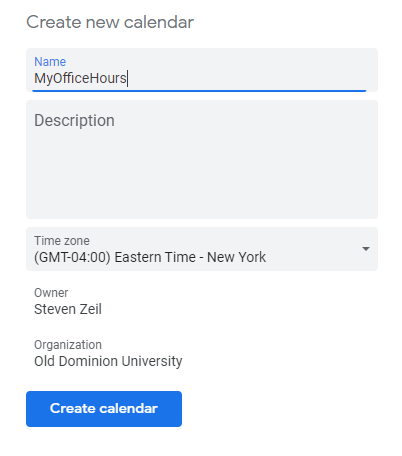
-
Refresh your screen (F5 or Ctrl-R). You should see your new calendar in the list on the left.
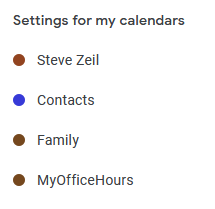
-
Click the $\leftarrow$ in the top-left corner to return to your main calendar view.
If your new calendar does not have a check mark next to it, click to add one.
2 2. Schedule Some Office Hours
-
In Zoom, set up a block of time for office hours.
-
Set it up as a recurring meeting, extending far enough into the future to cover the semester.
Don’t worry about matching the exact times of your office hours. You’ll be able to reuse the same meeting URL as long as there’s at least one recurrence left in the future.
-
Activate the waiting room feature so that students can’t wander into your session while you are still talking to a different student.
-
Get the link for students to join the meeting handy.
-
-
In Google calendar, select a day and time at which you want to offer office hours.
Click at the beginning of your chosen time and drag the mouse down for the length of time that you want to set aside.
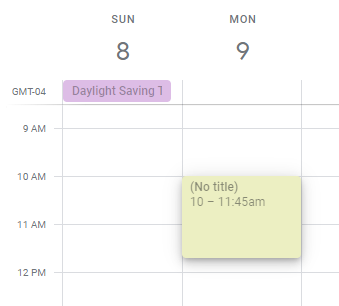
When you release your mouse, an event box will pop up.
-
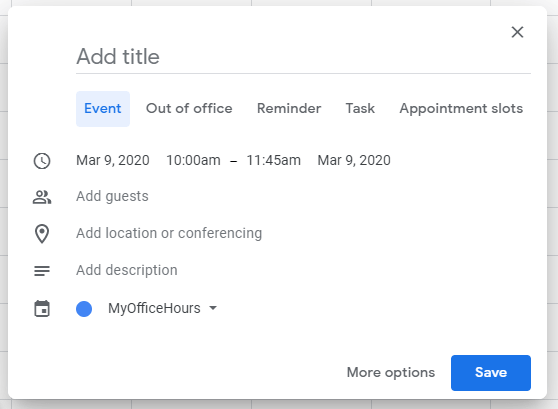
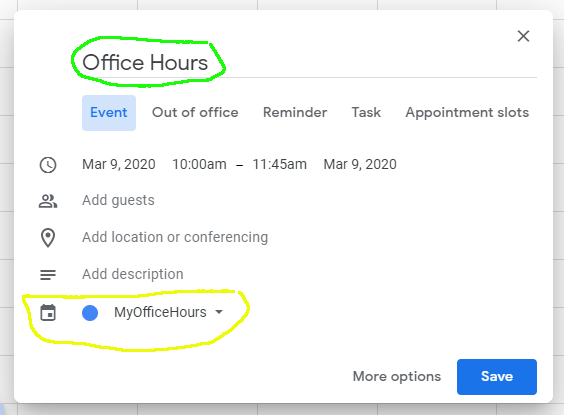
Type a title.
Make sure that the calendar listed is your new office hours calendar. Don’t Save yet.
-
In the
Locationbox, paste the link to join your Zoom office hours session. -
Click
Appointment Slots.Fill in an appropriate value for the duration.
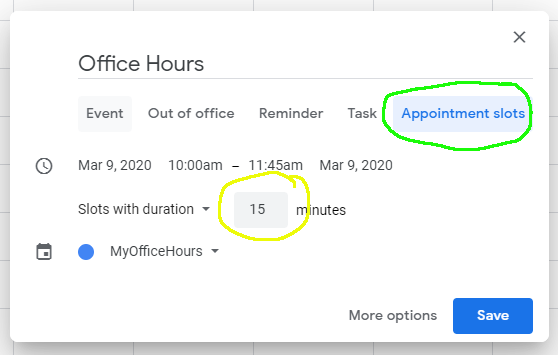
Click “Save”.
-
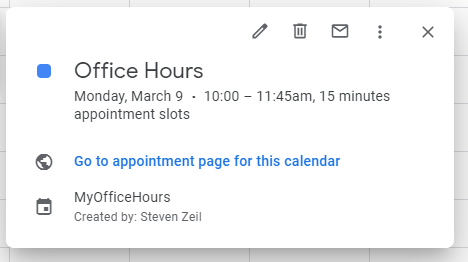
Click on your newly scheduled block of time.
A description will pop up.
-
See the link that says “Go to appointment page for this calendar”?
That’s the address that you need to publish to your students.
Click on that, then copy and paste the URL from the browser’s address bar into your syllabus, a Blackboard announcement, or some other place where your students can easily find it when they want to meet with you.
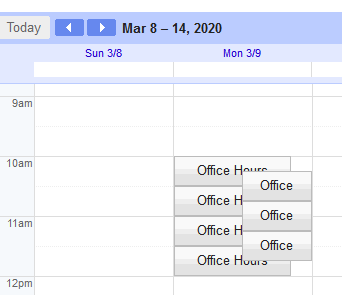
When students visit that URL, they will see something like this:
3 3. Conduct Your Office Hours
-
If a student clicks on one of the “Office Hours” buttons, they will see a signup sheet like this:
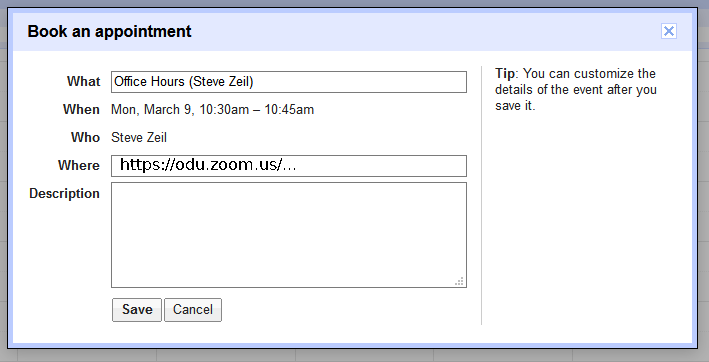
(except that their own name will appear in the “Who” line).
If they then click “Save”, several things happen.
- An appointment for that time slot is added to the student’s Google calendar.
- An appointment for that time slot is added to your Google calendar.
- The button for that time slot disappears from the view of anyone else who visits the signup sheet.
- The student will receive an email advising them that the appointment has been made.
(You, however, will not receive an email because faculty email runs through Outlook instead of GMail.)
-
A little before your scheduled office hours begin, check you calendar. If you see any short appointments like this
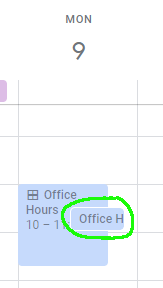
then a student has made an appointment.
-
When the time for the student’s appointment comes up, click on the student’s appointment in your calendar and click the Zoom URL link to enter the conference room.